Guidelines for use app to take samples
1 Create soil samples:
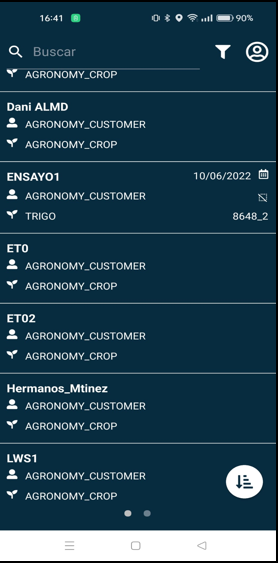
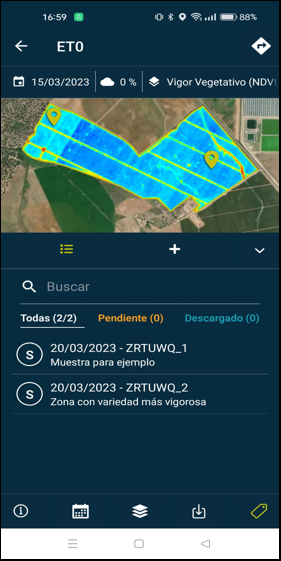
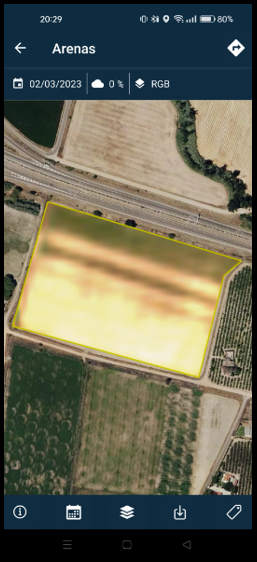
1.1 In the main menu we select the plot on which we want to create a sample.
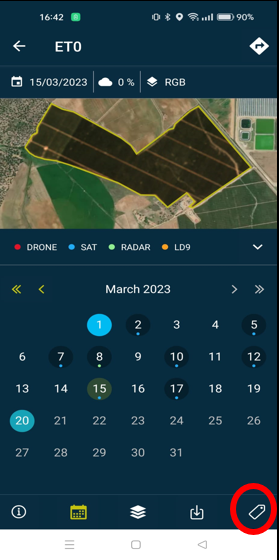
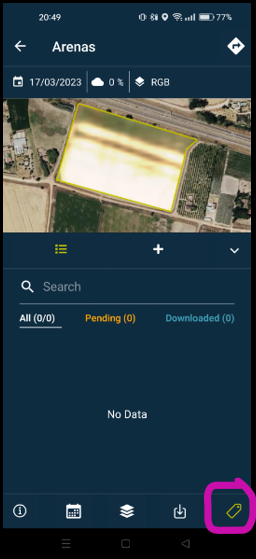
1.2 Click on the label icon (red) to go to the sample point creation screen.
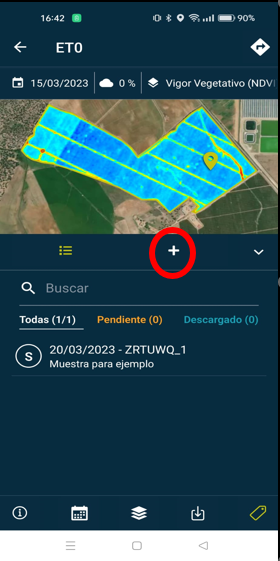
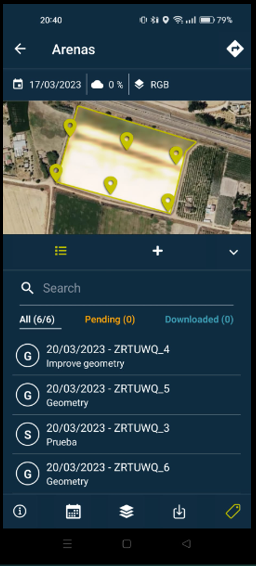
1.3 On this screen we can see the samples that have been taken previously in the plot, press + to create a new sampling point.
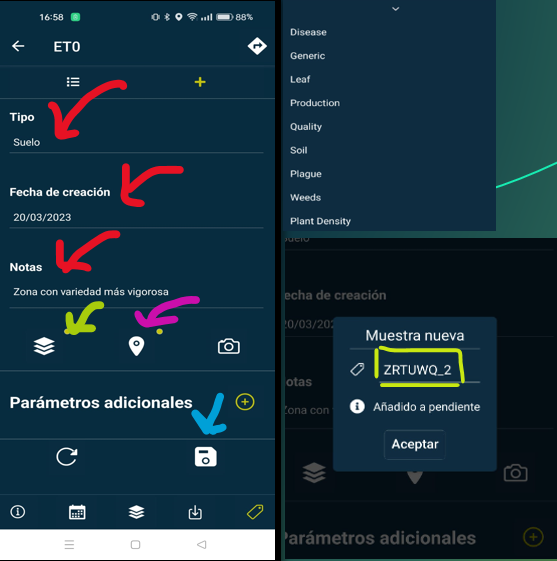
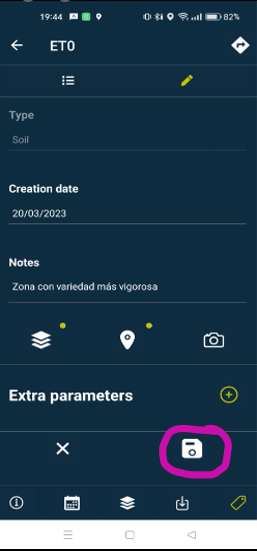
1.4 It takes us to a screen where we must define the characteristics of the sampling point: Type (soil, leaf…), date on which the sampling is created with the help of a calendar, in the layers icon we select which layer we want to have as a base layer under the sampling point, clicking on the LOCATION ICON gives us the option of locating the point by clicking on the map where we want to locate the sample (All the arrows must be complete to create the point). Finally click on the save icon, a sample reference number will appear VERY IMPORTANT: this reference is the one to be used in the sample bag for laboratory (it is advisable to write it several times on the bag and even insert a piece of paper with the reference inside the bag, so that this reference arrives legibly to the laboratory, since it is very important to relate the laboratory data with this number).
1.5 We already have our sample saved and added to the list of samples present in the plot.
2 Locate samples previously created with app:
2.1 Once you have selected a plot, if you are close to it your position will appear as a blue dot to guide you.
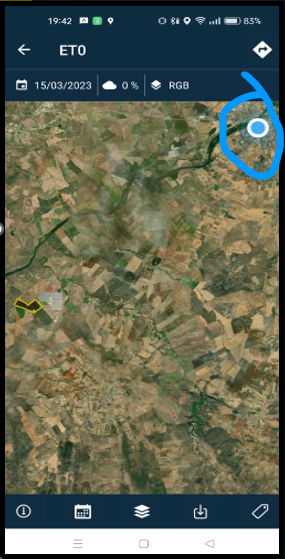
2.2 If you click on the icon with an arrow, it redirects you to other apps with which to guide you.

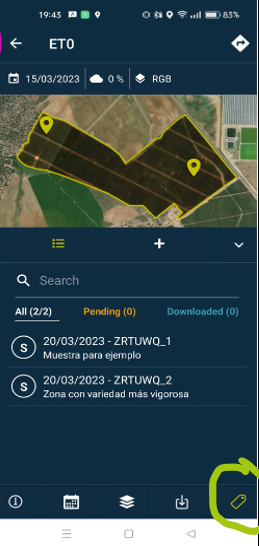
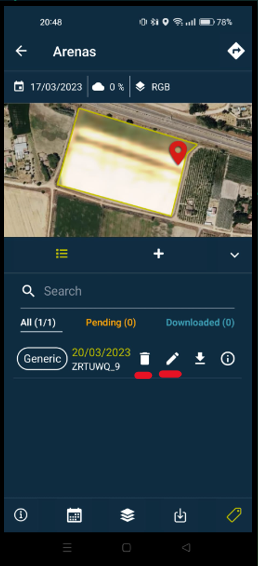
2.3 Press the pencil icon to view the sampling points that are in the plot.
2.4 Once you are on one of them click to edit it.
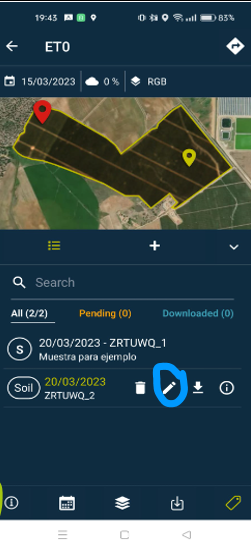
2.5 You can complete the existing comment, take a photo and add it… This will update the position thanks to the GPS of your mobile. And finally use save icon. It is important to edit point sample to refresh the true position where you take the point.
3 Use samples to define geometries with app:
3.1 It is necessary to create the plot from Layers (pc or laptop), if we do not know the exact geometry, propose a theoretical one and then update it using the points taken in the field.
3.2 Once in the plot, create points by clicking on the pencil icon.
3.3 Create the points, filling in all the necessary parameters.
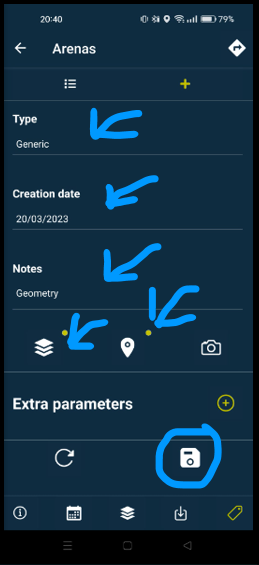
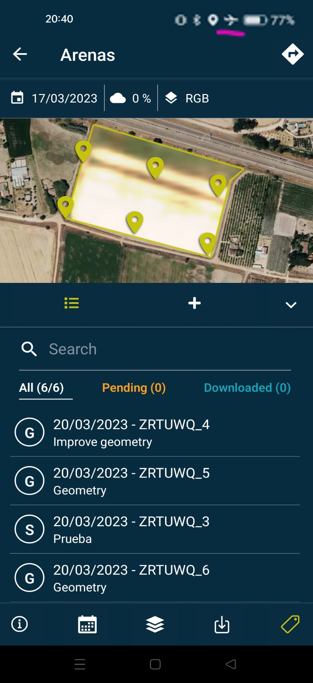
3.4 Example of some points to redelimit the real shape of the plot.
3.5 Click on any point to delete or edit it.
4 Offline mode:
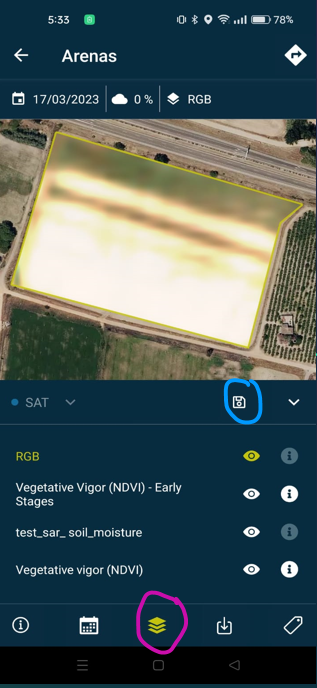
4.1 With internet coverage go to the layer icon, a dropdown opens with all the layers, click on a layer and press the download icon.
4.2 A message will appear showing the level of the download, and at the end a message will warn that the layer has been downloaded.
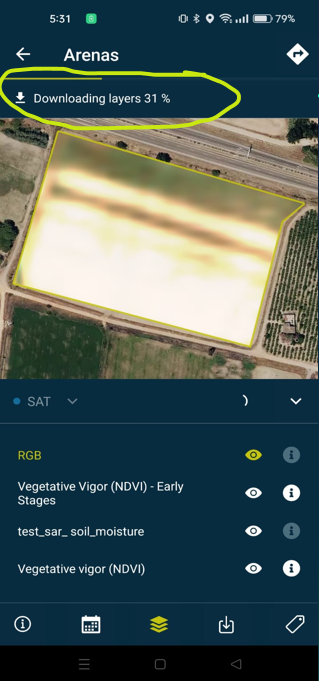
4.3 It is advisable to do a test without internet coverage, for which put the phone in airplane mode and check that the downloaded layer continues to appear.
5 FAQ:
5.1 I don’t see the satellite layers in a plot that I just created, why?
When a new geometry is created in Layers, the layers with the indices are generated automatically, but it takes 24 hours to update them in the app. If you create a new geometry in a few hours it will appear in the app, but it is not automatic.
5.2 Can I sample a parcel for which I don’t have the geometry loaded in Layers?
No, you must upload a geometry in Layers previously. If you are not very clear where the plot is, it is advisable to insert a large geometry that contains the plot. If you are using the app to define the geometry, once enough points have been taken to use it as a guide, create the geometry from Layers on the computer.
5.3 What layer is recommended to use as a base when sampling?
The one that allows you to locate the points to take better. For example, if you are taking samples of a pest and the NDVI layer delimits the affected area well, use that layer. If, on the contrary, you want to take points to delimit a plot from the field, the ideal is to take the RGB layer, since roads , trees and other stable elements in the images can help you orient yourself.